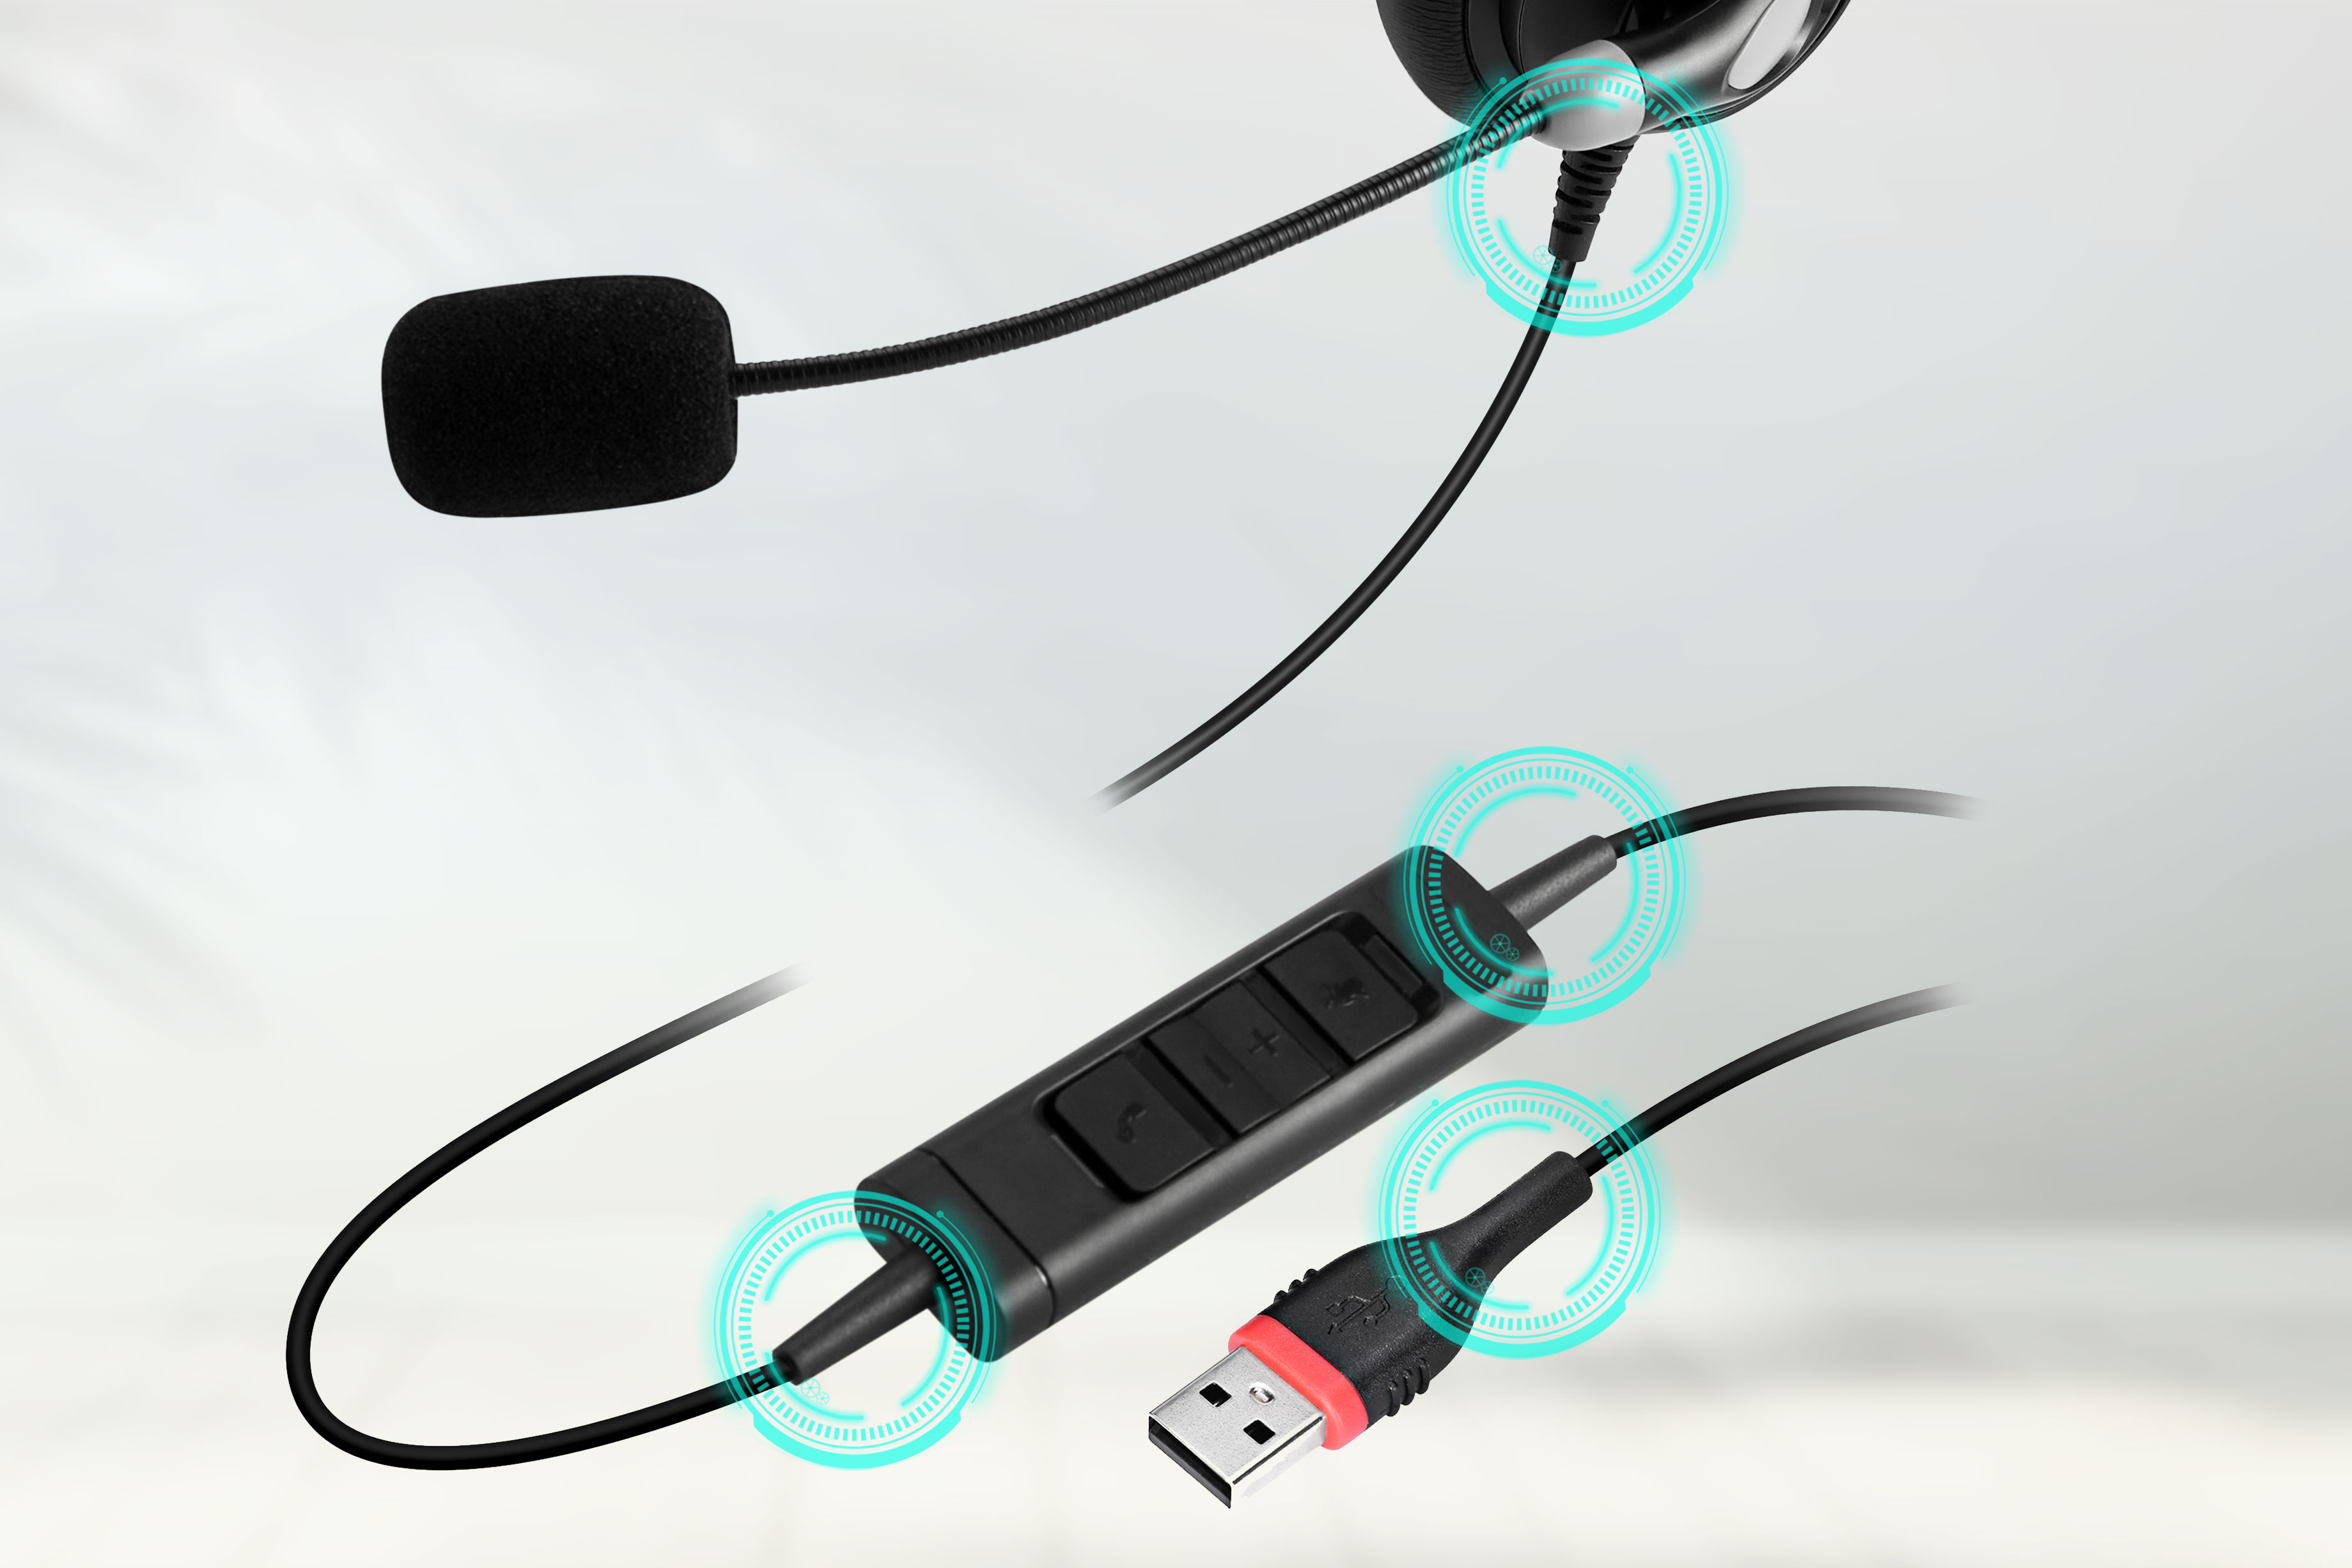
According to the analysis of faulty headphones handled by the after-sales repair department of Inbertec, malfunctions caused by headphone wire detachment are mainly concentrated at the soldered connection points in the following areas:
- The connection between the cable and the plug/connector: This is the ultimate point where all mechanical stress is applied.
- The connection between the cable and the internal circuit board: This area directly bears bending force.
- The connections at both ends of the in-line controller on the cable.
Causes of Malfunctions:Forcibly plugging/unplugging the headphones, the cable being run over by chair wheels, and repeated bending over the edge of a table.
Direct Consequences:Detachment of internal solder joints and breakage of copper wires inside the cable.
Malfunction Symptoms:Intermittent audio, no sound in one ear, static or other abnormal noise.
Preventive Measures:Always hold the plug (not the cable) when plugging or unplugging; insert and pull out the plug smoothly and vertically; handle the headphones with care.
How to Inspect for Damaged Headphone Cables
Step 1: Visual Inspection and Basic Function Test
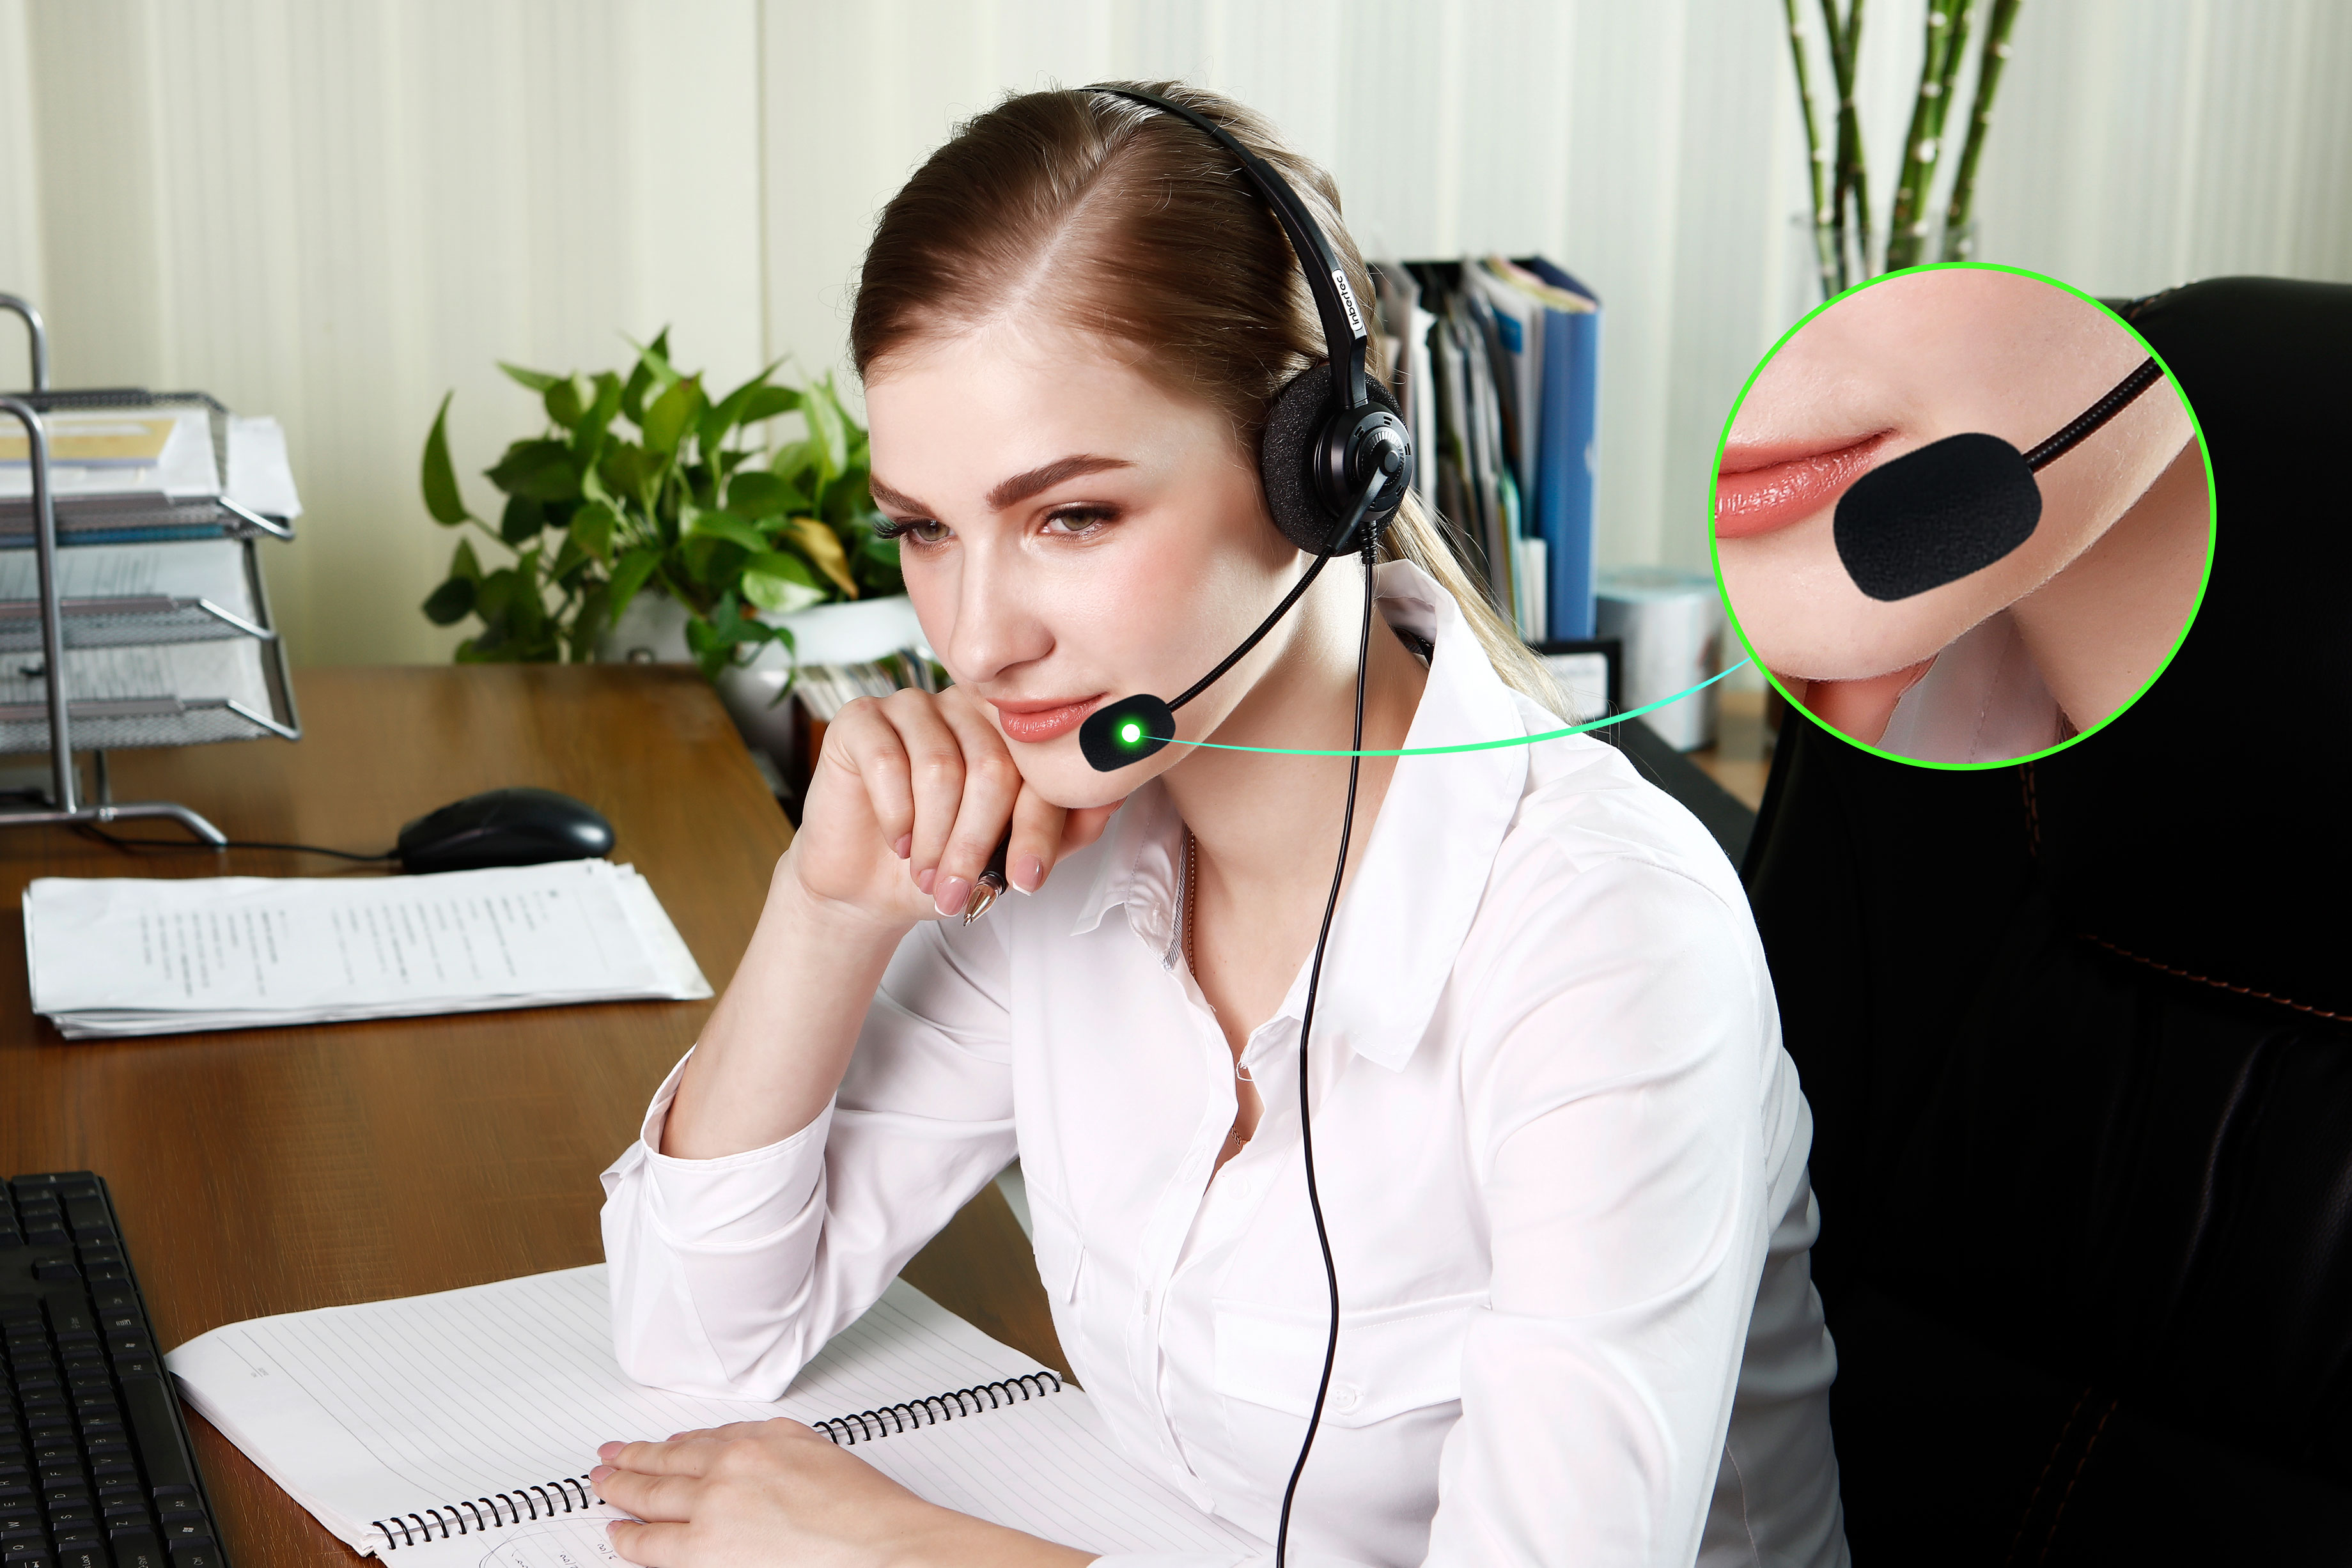
1.Thorough Visual Inspection
Key Areas: Focus on the cable sections near the plug and the strain relief (SR) at both ends of the in-line controller, as well as areas prone to frequent bending or pulling.Inspection Items: Damage, swelling, hardening or obvious creases on the outer casing. The solder joints of the in-line controller and the base of the microphone holder are also vulnerable points.
2.Wiggle and Bend Test (Perform during audio playback or a call)
Play a steady audio track (e.g., music), then gently wiggle and bend the suspected faulty part of the cable.Listen Closely: If the audio cuts in and out, crackles, or no sound comes from one side, there is most likely a poor connection or an incipient break in the internal wires of the cable at that point.
3.Substitution Test (The most reliable method)
Connect the headphones to another known working device (e.g., a mobile phone) for testing. If the problem persists, the headphones are faulty.Connect another pair of known working headphones to the original device for testing. If the audio is normal, the original headphones are faulty.This will 100% confirm whether the problem lies with the headphone cable.
Step 2: For Personnel with Circuit Knowledge and Operational Skills
Main Tools Required
Soldering iron, solder wire
1.Open the casing of the faulty part of the headphones and locate the broken cable.
2.Test with a multimeter, then solder the broken point.
Soldering requires a certain level of professional technical ability; if you are unable to do this on your own, please contact the seller for after-sales service.